

How-To: Salt dough ornaments

An assortment of salt dough ornaments ready to hang for a homemade holiday. Staff photo by David Bean / following photos by Jennifer Greenwell
Salt dough is the way to go for a timeless Christmas craft that will create memories and homespun holiday decorations—no trips to the craft store needed. The simple ingredients are staples in most pantries and inexpensive to boot.
Salt dough has been around for centuries. The non-edible dough originated in ancient Egypt as a medium for trinkets. It was widely used in European countries to create an array of festive decorations, including Christmas ornaments. The dough-based decorations were introduced to America in the 1800s by German settlers.
Whether sculpting it like clay or shaping it with cookie cutters, let your creative juices flow. You can add a spicy scent or tint with food coloring then mish, mash, shape, and bake. Don’t forget to cut holes in the tops for easy hanging with ribbon, twine, or wire.
Decorating ideas include imprinting tiny hands, paws, old brooches, leaves, and flowers—before going in the oven—for lasting impressions. Or, once baked and cooled, stick on glitter for shimmer or pipe on paint for a Christmas cookie look.
Finished products can be hung on the Christmas tree, attached to garland, or used in place of gift tags as a keepsake for the recipient.
Don’t aim for perfection. Even if you’re baking multiples of the same shape, expect differences. While making my own ornaments, some shapes were nearly unrecognizable by the time they made it to the baking sheet. But the pliable creations were easy to salvage by either reshaping them into their intended forms or reimagining them into something new.
The joy is in the making and baking, so have fun!
BEFORE YOU BEGIN
The basic salt dough recipe is 1 part salt, 2 parts plain flour, and 1 part water. You will likely need to tweak your dough a bit by adding extra flour or water for the perfect consistency. It should not stick to your hands, workspace, rolling pin, or cookie cutters, and it should not crumble.
Add water or flour to the dough in small amounts, like a tablespoon, at a time. I learned this step the hard way, particularly with the cinnamon dough. Once the dough was just right, I used cookie cutters for some and freestyled a few figurines, including a snowman and a bird. For a bit of pattern, I snagged an old brooch from my jewelry box, but leaves, lace, burlap, etc., would also work. I painted the pieces with both watercolors and acrylics.
WARNING: While your creations might look good enough to eat, DON’T. Salt dough should not be consumed by people or pets due to the large amount of sodium it contains, which can cause bloating, extreme thirst, a spike in blood pressure, and, in severe cases, hypernatremia, or too much sodium in the blood.
WHAT YOU’LL NEED

Ingredients
- 2 cups all-purpose bleached flour
- 1 cup salt
- 1 cup water
- (For cinnamon salt dough, add in 3/4 cup cinnamon)
Tools
Large bowl, spoon, measuring cup, rolling pin, cookie cutters or cookie molds
Decorations
Ribbon, yarn, wire ornament hangers, or twine for hanging; paint or glitter (if desired)
INSTRUCTIONS

Preheat oven to 250 degrees.
Mix together the dry ingredients until thoroughly blended. Create an indention in the center, add the water, and stir. The mixture will become thicker and more dough-like as the water is absorbed. Once it resembles dough, put the spoon down and get your hands dirty. Knead the dough for a few minutes so the ingredients are well combined.
Troubleshooting the dough
- If it is too sticky after kneading, let it rest a few minutes to allow the water to absorb. If it is still too sticky to work with, add flour 1 tablespoon at a time, kneading it into the dough. The dough should not stick to cookie cutters or your work surface.
- If your dough crumbles, it is too dry. Add water 1 tablespoon at a time, thoroughly kneading it into the dough until it is easily workable.
Separate the dough ball into two sections and work with one at a time.
Flour your work surface, hands, and rolling pin.
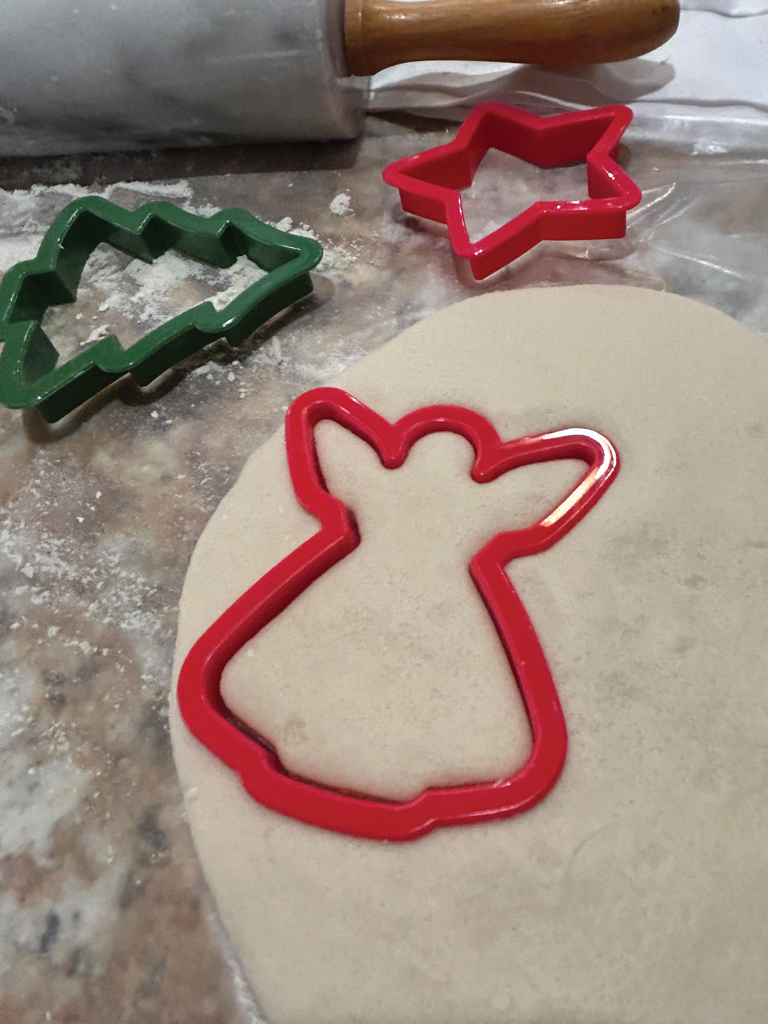
Roll out dough to about 1/4-inch to 1/2-inch thick. Use cookie cutters, molds, or hands to form ornaments. Use a small straw or skewer to make holes for hanging. Place ornaments on a non-stick or lined baking sheet.

Bake the ornaments at 250 degrees for an hour or more until hard and dry. If you make a three-dimensional or very thick piece, it will need to bake longer. If you prefer the no-bake method, place the ornaments on a tray to air dry for at least 24-48 hours.
Decorate if desired.
Salt is a natural preservative, but if you would like to seal your masterpiece, apply a coat of clear sealer after it dries. The cinnamon salt dough will lighten quite a bit after baking. The sealer will squash the scent, but it brings out a nice brown color.
Store the ornaments in an airtight container to use next year.